SOIL HEALTH / FROM A HANDFUL TO A PLAN
Get to know
your garden soil
Read a bed, prepare a useful sample, and learn what a soil report can—and cannot—tell you to change.
ONE BED, TWO QUESTIONS · FICTIONAL WALK-THROUGH
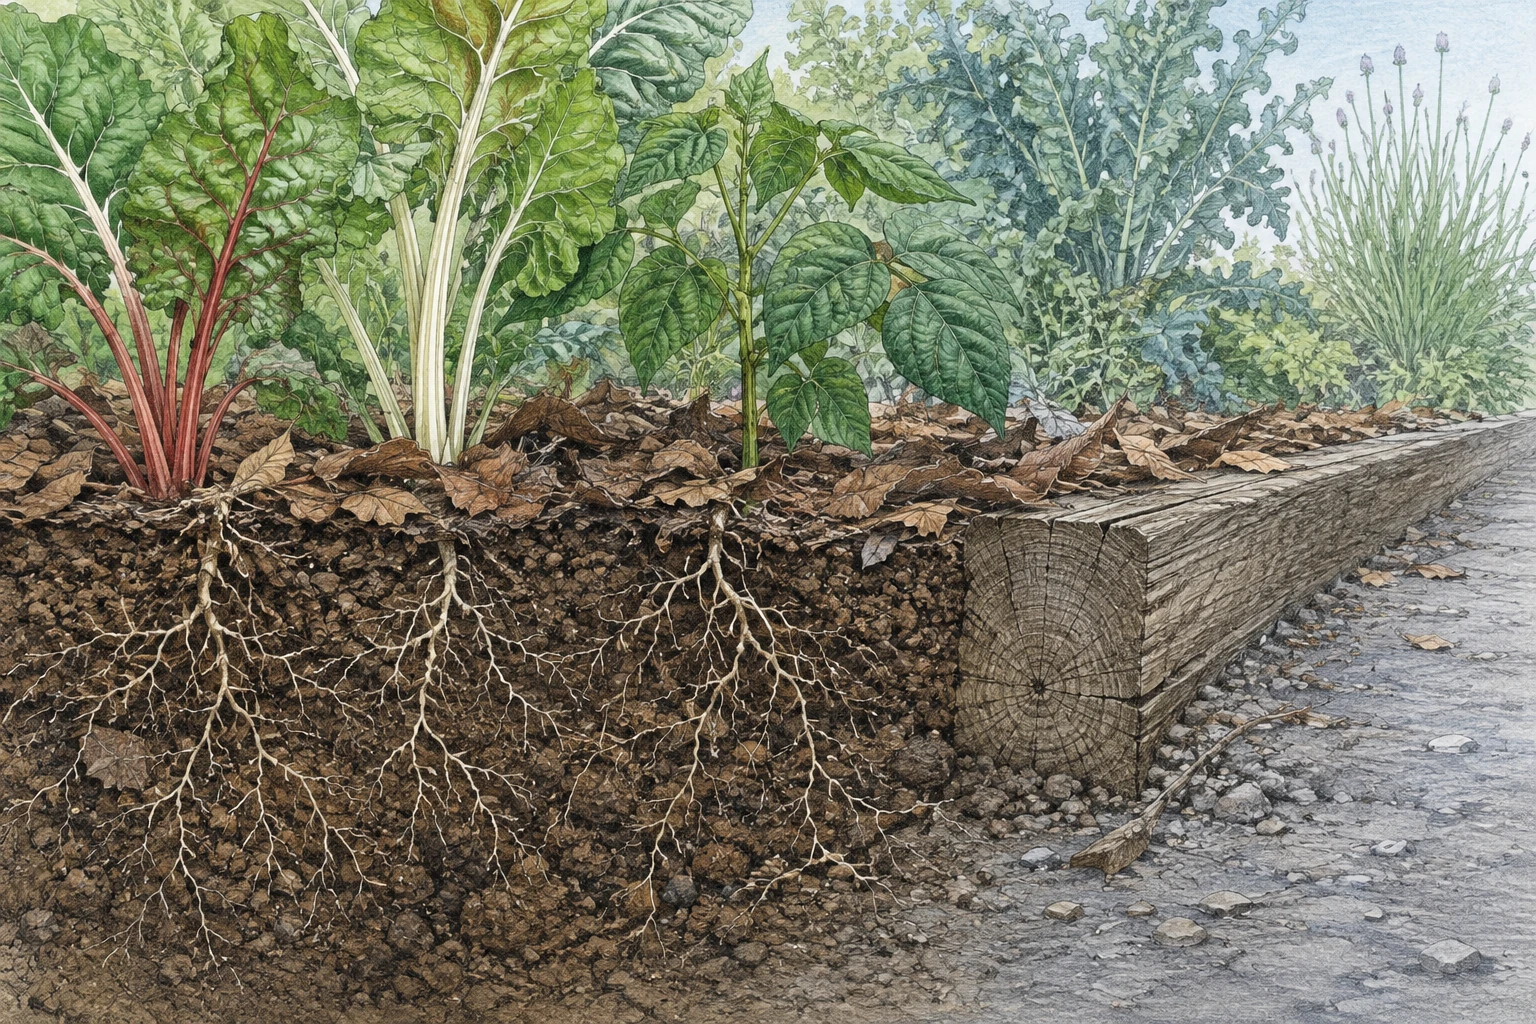
Imagine a vegetable bed whose east end stays visibly wet after the rest looks drier. You have spread compost over the whole bed in previous seasons, but have no recent soil report. It is tempting to spread another layer and call that soil improvement.
First, keep two questions apart: why is water lingering here? and what, if anything, should I add? We’ll follow this bed from an observation to a sample plan, then use an example report to decide what happens next.
- What I can see
- The east end has a wet surface. The rest of the bed looks drier. A shortcut crosses the east end.
- What I know
- The same vegetables and compost routine have been used across the bed.
- What I still need
- When rain or irrigation stopped; whether water flows in from outside; how long the difference lasts; the depth at which the soil feels wet.
“Wet east end” belongs in the record. “Needs compost” is a conclusion we have not earned.
WHAT YOU’RE LOOKING AT
The mix. The crumbs.
The material that feeds life.
These three terms describe different things. Adding organic material can influence the arrangement of soil, but it does not turn the mineral particles into a new texture class. Think about the pore spaces as well as the ingredients: roots need room, and water needs places to enter, move and be held. [3] [4]
Texture
The mineral mix
Sand, silt and clay are particles of different sizes. Their mix is your baseline.
Structure
How particles gather
Particles form crumbs with pore spaces around and within them. Traffic can damage that arrangement.
Organic matter
Material & biological input
Decomposing plant material supports soil organisms and can help aggregation. It is not a new mineral texture.
Texture is the mix of sand, silt and clay particles. Rub a little moistened soil between your fingers: sand feels gritty, silt smooth, and clay sticky. This is a useful first impression, not a nutrient test. [2]
Your texture is a baseline; ordinary garden care will not change it much. Clay-rich soil generally holds more water and nutrients than sandy soil, but drains more slowly and compacts more readily. Work with those tendencies when you water and choose a moment to dig. [4]
Would a jar test help?
A jar test requires dispersion and clay can take days or longer; the feel test is an easier first observation. [2]
Use the complete Colorado State procedure if you want to estimate texture this way.
THE SAMPLE HAS TO MATCH THE QUESTION
Don’t mix away
the difference you noticed.
The sample should represent the question. If we combine the wet end with the rest of the bed, the lab receives a blend and cannot give a separate result for either place. To compare them, label the ordinary area A and the wetter area B, and keep their samples separate. Iowa State recommends separate testing where environmental conditions or management differ. [6]
One bed. One sample—or two?
Change the example conditions to see what happens to the sample groups.
The west and east parts of the same bed are shown one above the other here.
A’s collections go together. B’s collections go together. Keep A and B separate so their reports can be compared.
Each dot below is one small soil collection, not a separate submission. The example uses 12 collections per area, chosen within Iowa State’s 10–15-location guidance. Within each area they are mixed into one combined sample. Their tidy positions explain grouping; follow the lab’s actual sampling instructions in your own bed. [6]
Both sampling plans, in words
If conditions and management are similar throughout, this example combines 12 collections across the bed into one sample A. If the east end is distinctly different, the example takes 12 collections within A and 12 within B, and submits them separately. In your garden, follow the lab’s count, depth and quantity instructions. [6]
Make the first visit count.
Choose a laboratory that gives home-garden recommendations. Basic packages commonly include pH, organic matter, phosphorus and potassium; check what your lab includes. Home kits give rougher results and may use methods unsuited to local soil. [6]
- Choose the service first. Get its garden sampling instructions and submission form before heading outside. Note the requested depth, soil quantity and packaging. [6]
- Draw the areas and label them. Put A and B on the sketch, containers and form. Tell the lab which crops you intend to grow; do not mix lawn soil into a vegetable-bed sample. [6] [9]
- Wait for a suitable sampling moment. In this example B is still too wet, so the visit is for notes and a map. Return when it can be sampled under the lab’s conditions. [6]
- Collect and combine within each area. Keep the depth consistent with the lab’s instructions. Mix A’s small samples together, then B’s separately. Submit only the quantity requested from each mixture. [9]
- Keep the context with the results. File the sketch, sample IDs, date, intended crop and recent amendment history with the reports. [9]
Follow the lab’s sampling instructions. Iowa State describes mixing small samples from 10–15 places, usually from the top 4–8 inches. Keep areas with different crops or management separate, and leave mulch and amendment fragments out of the sample. Avoid sampling just after an amendment or in very wet, very dry or frozen soil. [6]
The map preserves where each result came from. Next, the report needs to preserve the difference between a measurement, the laboratory’s interpretation and its recommendation.
WHEN THE RESULTS COME BACK
Read across the rows,
then read them together.
Find the sample ID and intended crop first. The example below belongs to area A. It should not quietly become a prescription for area B.
READING PRACTICE / AREA A
A report is a set of decisions,
not a grade for your soil.
Schematic example: the categories below are invented for teaching. They are not measurements or a real laboratory report. No ppm values, extraction method, regional cutoff or application rate is implied.
There is no pH correction to make in this example. On your report, read the crop-specific recommendation before buying lime.
When would I need to change pH?
pH describes acidity or alkalinity and affects nutrient availability. Oregon State lists pH 6.0–7.0 for most plants, with different targets for individual crops: blueberries, for example, are listed at 4.5–5.5. Use your crop’s local recommendation rather than trying to bring every bed to neutral. [5]
Lime raises pH, but the amount depends on the soil’s buffering capacity, the crop, the product and incorporation depth—not just the pH number. Use the lab’s recommendation, with local help if its instructions are unclear. [5]
Pause additions of phosphorus and read the recommendation. Include compost in that accounting; a soil-building intention does not remove its nutrient contribution.
A balanced fertilizer may add something this soil does not need. Match the laboratory’s recommendation rather than a familiar bag label.
This asks for a soil-management conversation alongside the phosphorus result. It does not cancel that result or establish an annual compost depth.
B has its own sample and observation record. Even its routine fertility report will not, by itself, identify why water lingers there.
Reading principles: Minnesota’s soil-test guidance [4], Oregon’s pH guidance [5] and Iowa’s test scope [6].
Low organic matter.
Enough phosphorus.
Now what?
Notice the tension in A’s example report: it would be useful to build organic matter, yet phosphorus is already above sufficient. “Add compost” cannot answer both findings without knowing the material and amount. Bring the compost’s ingredient list or analysis and the soil report to the lab or local adviser. Ask: how can I improve this bed’s physical condition while avoiding further phosphorus buildup? [4] [8]
Meanwhile, you can stop walking through the bed and avoid working it wet. Those are real soil-care actions, even while an amendment decision is waiting. [3]
Compost can improve physical condition while still supplying too little of a nutrient your crop needs. It can also add unwanted salts, especially when manure is an ingredient. The material, existing soil and application method all matter. There is no single annual depth that fits every bed. [8]
Read phosphorus and potassium results before adding more. Compost contributes nutrients too; repeated additions can build phosphorus to excess. If the report calls for nitrogen but no phosphorus, choose a nutrient source that fits that recommendation instead of automatically buying a balanced fertilizer. [4]
Change one result. What changes?
Suppose the same bed’s report instead says phosphorus is low and recommends adding it for the planned crop. You now have a reason to choose a phosphorus source and calculate the amount from that recommendation. You still do not have a reason to guess an annual compost depth.
The wet-end question stays open in both cases. A fertility recommendation can change what you buy; it cannot erase a physical observation. This is why the sketch and the report belong together. [4] [6]
Do something useful
before you buy anything.
For our example bed, move the shortcut back onto the path and leave the wet end undisturbed. On the next visit, return to the same marked places. Note when rain or irrigation ended, photograph the surface, and record whether the wet area is larger, smaller or unchanged. One drier visit is not proof of improvement: the weather may simply have changed.
If the pattern persists, take the sketch, photographs, timing notes, crop list, amendment history and both reports to local Extension. Ask what site or soil-profile observation is needed to investigate the wet end. You are bringing an answerable question, rather than asking someone to choose a bag from a description of “bad soil.” [3] [4]
Keep feet on paths and postpone digging when the soil is wet. Reduce unnecessary tillage; both wet-soil working and repeated disturbance can damage structure. [1] [3]
Cover exposed soil with an appropriate organic mulch, such as leaves. A surface cover reduces evaporation; it does a different job from material mixed into a bed. [3]
When a bed will be empty, ask your local Extension service about a cover crop that fits the available season. A winter option in one climate may be a summer option elsewhere—or may not fit between your vegetables at all. [8]
Photograph the same patch and note how water enters and how the soil breaks apart. Compare observations over time. Minnesota suggests lab testing every 3–5 years, and more often when compost or manure is used; follow your own lab’s schedule. [4]
TAKE THE QUESTION OUTSIDE
A bed note worth keeping.
Use the filled example to see what belongs in the record. The blank sheet gives your own observations, sample labels and lab instructions a place to meet.
FILLED EXAMPLE / FICTIONAL BED
Vegetable bed · A + B
- Observation
- East end remains visibly wetter. Shortcut crosses it. Cause unknown.
- Sample plan
- A: ordinary area. B: wet east end, kept separate. Return when sampling conditions suit the lab.
- Before sampling
- Confirm the lab’s depth, number of collections, quantity and packaging. Record planned vegetables and amendment history.
- Next action
- Keep traffic on the path. Photograph the same places after rain or irrigation and record timing.
- Question to bring
- What site/profile observation would explain the wet end? How do we improve physical condition without adding phosphorus we do not need?
Example reports and observations are teaching assumptions, not garden records. Read the worked decision.
LUSHLY / SOIL OBSERVATION & SAMPLE NOTE
Bed:
Keep differently managed or conditioned areas separate. Follow your laboratory’s directions. This sheet records observations; it does not diagnose soil or prescribe amendments. Based on Iowa State’s Soil Testing Resources for Home Gardeners.
For your garden
Your saved garden details
Choose a garden and bed to see the saved details this part of the guide uses. Missing details stay marked as not recorded.
Enable JavaScript to connect your garden. The article and sources are available without it.
About this editorial preview
Independent AI evidence review completed September 6, 2026; no human review claimed.